
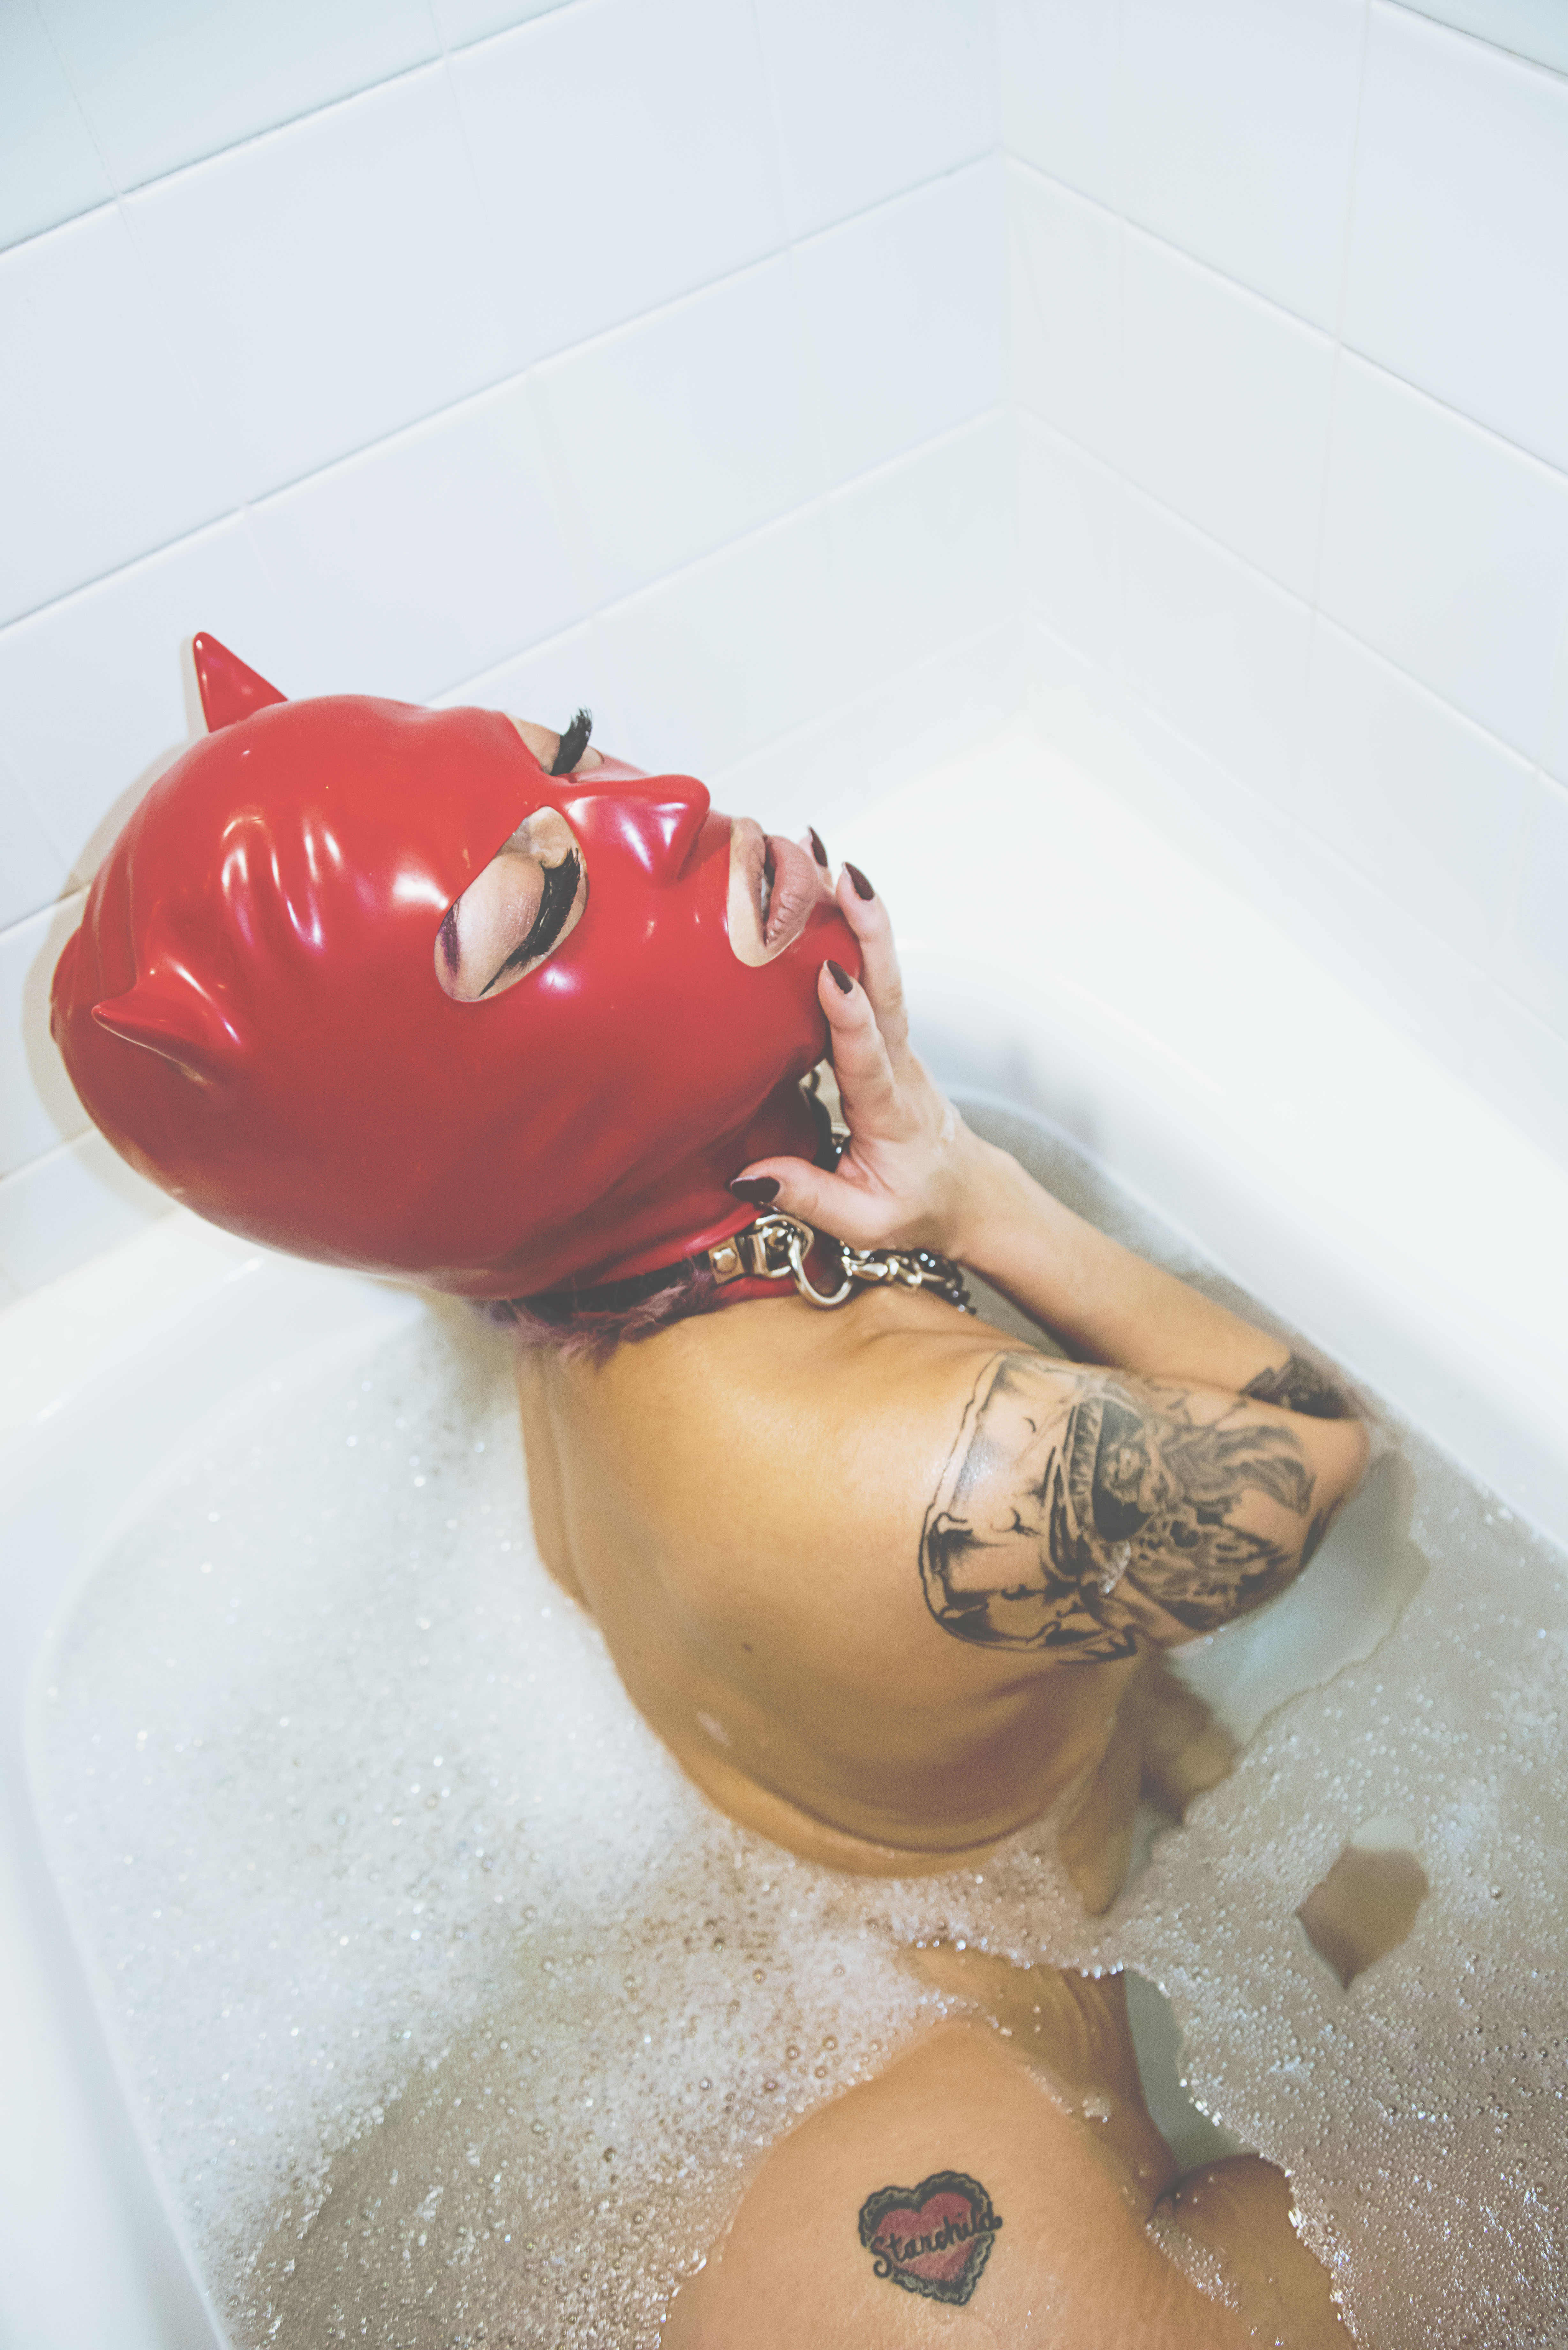

I get a lot of questions about my lighting techniques (whether I’m using a certain type of light or not). However, when I first started I didn’t have any money for professional lighting gear. I began photography with a point-and-shoot camera made by Olympia, and my own imagination (especially when it came to lighting). Fast forward to 12 years later and I still to this day use my old guerrilla lighting techniques (sometimes). The featured image is from a set I did with a single flood light and my built-in flash. So for those of you who only have the built-in flash, no money, and a few quirky ideas of your own, this one’s for you.
1. With A Little Help From Your Friends
You’re going to need a little assistance from your buddies! Bribe them with food or beer (or both), it usually helps. Most artists have like-minded friends who’d be down to help out with something creative (so most likely you will find some people). Tell them a bit about the theme and who’s getting involved (people like to know what’s going on/what they’re getting into).
2. Look Around You
I’ve found plenty of good light sources throughout someone’s home, or the area that I’m shooting in. If you see a lamp that’s too short, put it on a stool or a stack of books. Be careful not to mix colors. Some lamps have a more yellow light bulb, others may have a more blue tinted light bulb. If you see a flashlight, grab it. Anything that reflects a decent amount of light could be used as a light source, so get creative. Home Depot has some cool and creative (and cheap) lighting options as well.
3. Figure Out The “Feeling” Of The Shoot
This will determine how dramatic your lighting should be. I suggest going as bright as you can and narrow down the concentration of the lighting. Experiment with the lighting a bit, don’t be afraid to turn on the over-head light and see if that works. It’s better to be a little bit more brighter than you want it to be and fix it in post. Once it’s TOO dark, there’s nothing you can do about it to get the information back (in the pixels). If you want to be more dramatic/artistic don’t light the photo up completely. Incorporate dramatic shadowing in your photograph.
4. PLACES! Places Everyone!
Your lights should be placed in the same manner as you would for professional lights. Two lights on either side, pointed at the model. Lit background (including floor lights if you’re doing standing full-body shots). And finally one light directly facing the model. That’s going to be a lot of lamps! Using tables, stools, stacks of books, wedging items etc can help you place the lights specifically where you want them. I’ve rigged a light, taped a lamp shade to one side, and had a friend hold it the perfect way. Remember to light your background (at least somewhat), and not to have too much light in your foreground. You will be taking a lot of test shots trying to figure out lighting. If you do this just right, it will look more like a professional photoshoot.
5. CLOSE THE BLINDS!
Unless you’re using sunlight, close all of the blinds; get rid of any sunlight peering into the room. Sunlight is extremely hard to control (especially when using multiple light sources) and will easily blow out your photograph.
6. Start Saving For The REAL Thing
It’s fun at first, but you can’t get away with this forever. Invest in some professional lighting equipment so you can look like a professional. The average lighting kit is around $400-$1,000, so start saving! The best place to look for deals is Amazon.com.
I hope this helps some of you! I’ve been broke without proper equipment before, but I still had the drive to shoot. Try out different things with different types of lighting sources. Some will pump out more light than others (the wattage). Flood lights for guerrilla lighting is my current favorite. Let me know what worked for you by contacting me!
